EZ Front Weights

By Chris Britton. Published in the N-News Spring 2015. Vol. 30 No. 2.

Hand-cast front weights

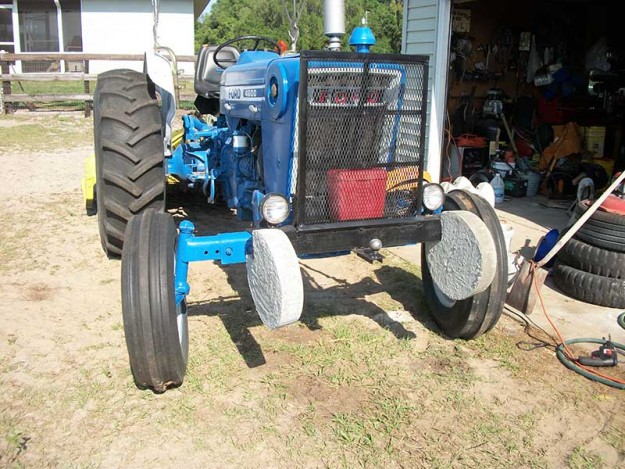
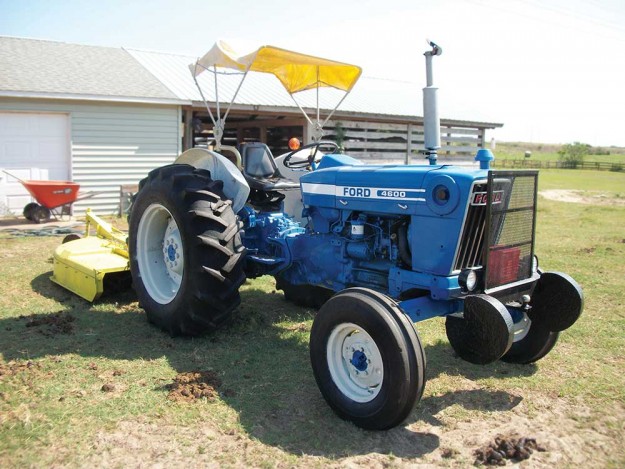
Hand-cast front weights painted and in place on Chris Britton’s Ford 4600.

Mowing season comes early in my part of Florida. Weeds will be tall and there will be a lot of work to do. I had picked up a 1978 Ford 4600 a few years ago and have been itching to use its 6′ mower to do some trimming through trails and close mowing around trees. The problem was the front end would get very light with the mower raised up to get the rig loaded onto my trailer. So light, in fact, that the front wheels came off the ramps while I was half way up the ramps – not a very good feeling.

I knew I needed some weight up front and so I checked the tractor budget. There wasn’t much money available. The dealer wanted about $2.50 per pound for cast iron weights and I had been unable to find any garage sale weights that I could adapt. My next thought went back to how I solved my rear weight problem with my loader tractor – cement weights.

Since my tractor has a homemade heavy angle iron bumper, I decided to make them hang from it by creating a form inside the tub so the weight would fit up to the face of the bumper and hang mostly under it.

weights hangin from the tractor bumper

Homemade cast weights specially designed to hang from the 4600 bumper.

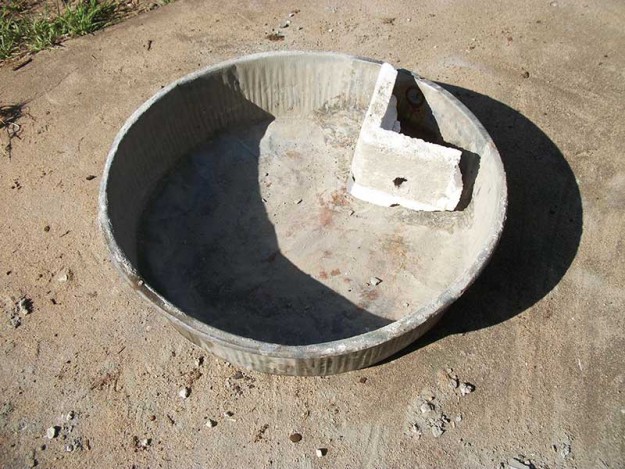
I started thinking about how to form removable front weights and while looking around the shop, found an old deep style animal feed tub. I thought, “Wow, that would make a nice round weight.”  I dug a piece of Styrofoam out of the trash that had come fitted around some shop tool. Using a long razor knife, I cut a corner out of it and beveled the edges where it would meet the pan.

I also drilled a hole in the foam to allow the shank of a bolt to stick into the open area. I then used duct tape to tape the foam into the pan so it wouldn’t leak concrete around the foam.

form that casts the bumpe-rmounted weight.

The form pan used to cast the weight, with the styrofoam and bolt in place.

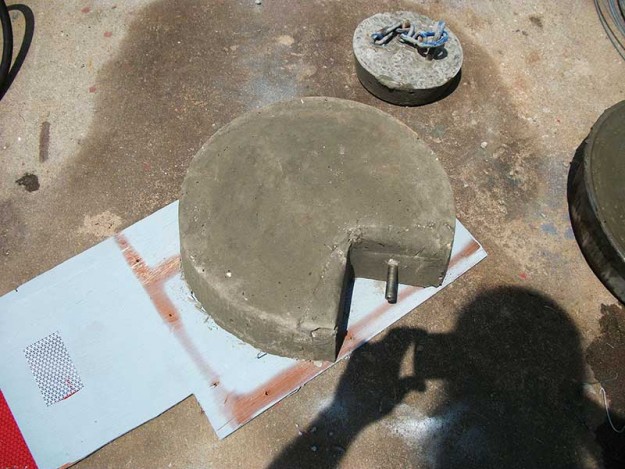
I used a long carriage bolt that had a slightly rounded off shoulder on it as the mounting stud. I wrapped a strip of tape on the threads to prevent any concrete from traveling between the foam and bolt. I embedded some heavy brace and fence wire into the form about half way through the pour. I used thin gauge wire from the pan edge to the embedded wire to hold it midway through the concrete instead of settling to the bottom.

For my test piece, I used a rag with diesel on it and rubbed it on the pan – that was the release agent so the concrete would pop out!

the cast bumper

The cast weight with bolt protruding. The diesel made for a handy release agent!

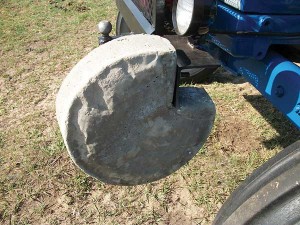
The results were much better than expected! I then measured and drilled my bumper and hung a couple on and painted them black to match. (See the top photo.)

EZ weight mounted

EZ Front weight as mounted on the bumper.

On subsequent pours, I used spray engine cleaner as the release agent since it was easier to apply and then used reclaimed fender bolts as the mounting studs. Dumping the forms over after curing made the foam come out on the stud. All I had to do was reseat the foam in the pan with new tape and then pour another. As a side benefit, I usually have a shovel full of mix leftover after pouring, so I used a soft side rubber feed bowl to make a few small weights with wire handles. These will be good to hold down tarp corners or hold lids on garbage cans during windy days.

The total cost was $10 in concrete, some salvaged bolts, spare wire and leftover paint. It took about 10 minutes to mix the concrete, set the form and pour. Super E-Z and cheap, yet effective. Just the way I like it.

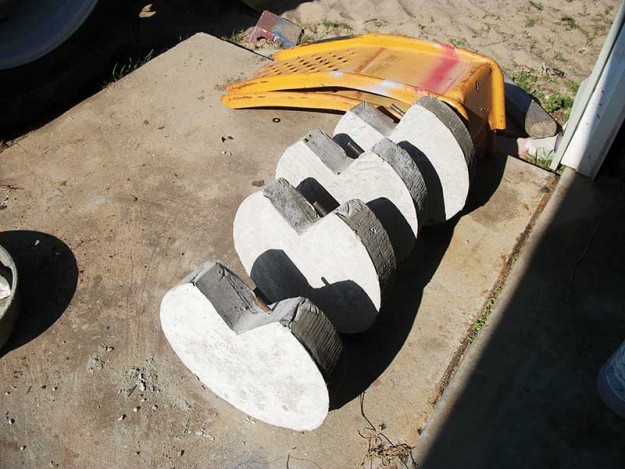
EZ weights ready for mounting

EZ weights ready for mounting – about 50lbs each. Easy!

Chris Britton is a long time contributor to the N-News Magazine specializing in technical tips, fixes, solutions and making the seemingly complex, easy!

Inspired – a Lift Disc Restoration

By Wayne Wiseman. Published in Spring 2014 N-News. Vol. 29 No. 2.

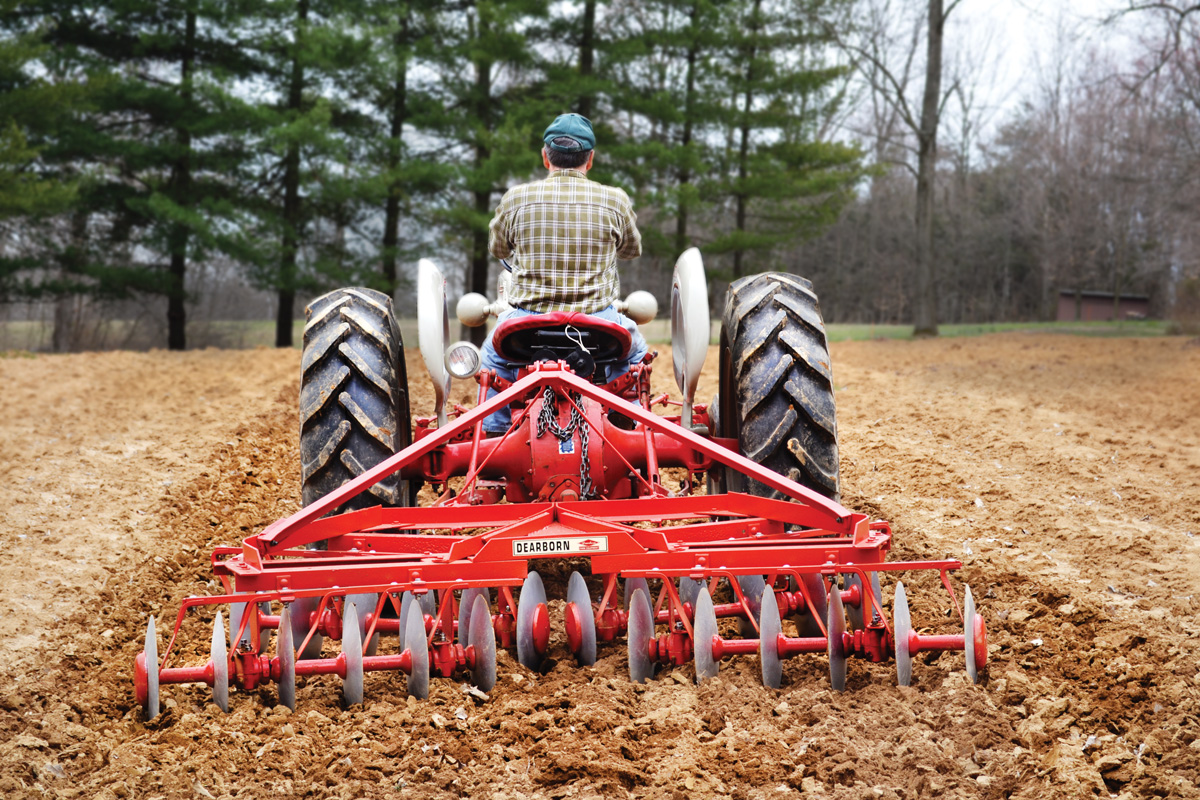
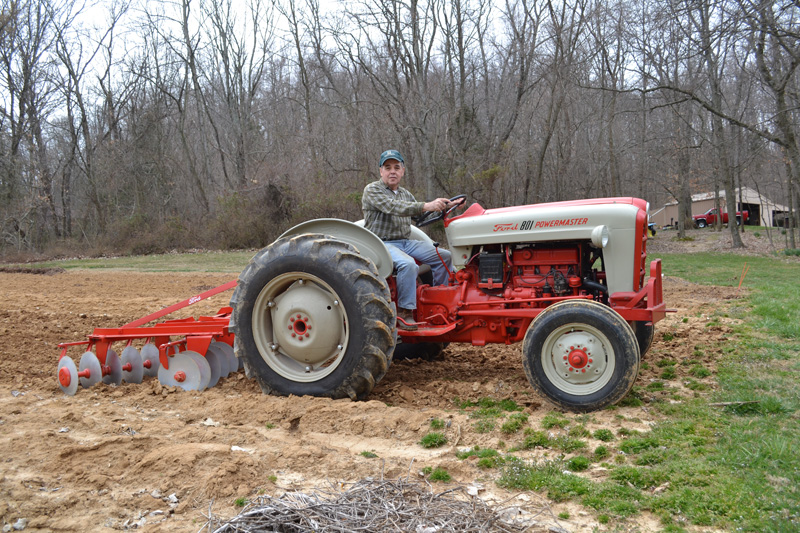
Wayne Wiseman finishing up a bit of discing.

Wayne Wiseman finishing up a bit of discing.

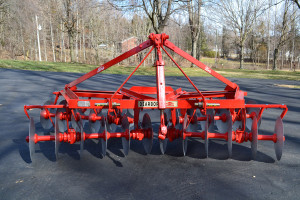
When I received my N-News Vintage Tractor calendar last year, the picture of the 8N tractor and lift-type disc (May 2013) caught my eye. I had acquired a lift-type disc, but in very rusty and worn condition. I didn’t know anything about the disc, but I read on the metal plate that it was a Dearborn with a model number of Lift-E. As I own a 1958 Ford 861 PowerMaster, I thought this disc should be worth rebuilding and would be a good match with my Ford tractor. I will admit I nearly brought it to the scrap yard as the disc did not function properly, but the picture in the calendar changed my mind. With help from N-News and exploring the internet, I determined that I owned a Dearborn Lift-Type Tandem Disc Harrow. Mine is a 6 foot disc and I think the one in the calendar is 5 foot model, though it is hard to tell. I purchased the disc in 1983 and paid $265.00 for it.

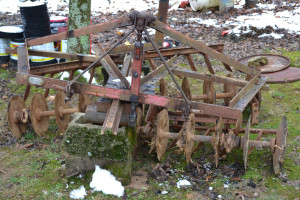
Disc before restoration

Disc before restoration

I emailed Woodex Bearing Company that advertises Wood Disc Harrow Bearing. They replied that the type of disc I have does not use wood type bearings. I then checked with Agri-Supply and they had the complete replacement bearing assemblies. I needed eight, and found that the cost was more than I wanted to invest in a garden disc.

The next step was to try and make metal inserts similar to engine rod bearing inserts. Each bearing assembly in the disc has a total of six inserts. The disc has eight bearing housings, which meant I would need to make a total of 48 metal inserts, three on the top half and three on the bottom half of each bearing assembly. I used thin metal and checked the amount of wear and then measured the thickness. I cut flat metal approximately 1” wide and 3” long with a thin blade in a 4½” angle grinder. I used a torch to heat the metal strip until they were red hot. I formed the metal strips to the contour of the bearing assemblies using a hammer. I then spot-welded the metal inserts on each end and installed the bearing housing on the axle spools, turning the bearing housing to check the tightness.

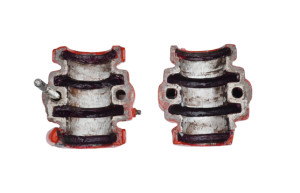
Bearing holders opened up.

Bearing holders opened up.

If it was too tight, I would grind off a small amount of the metal inserts until the housing turned freely when installed on the axle spools. I did some repair work on the remainder of the disc and then primed and painted the whole implement. I filled the bearings with grease, hooked the disc to my 1958 Ford 861 PowerMaster and tested the disc in the garden. The disc functioned very well and I rated the outcome of the project as “very well satisfied.”

Harrow done and ready to work.

Harrow done and ready to work.

I will point out that I only use the disc once a year in my own garden. If I had planned on using the disc for acres of work, I would not have chosen to rebuild – I would have purchased the new parts. With plenty of grease and in its current level of use, I am confident the disc will last for many years.

My Ford equipment inventory includes the 1958 Ford 861 PowerMaster tractor, a two bottom Ford plow with shear pins, and a Cordwood saw and this six foot disc. I feel great that I saved another Dearborn implement from the scrap yard and will pass it on some day. Until then, I will continue to be a happy gardener using my Ford implements.

disc.harrow

N-News back issues thumbnailEnjoy this article? Subscribe to the N-News Magazine for more essential N-News! Subscribers have made the print version of the N-News Magazine a success for 30 years. Pick one up today!

641 Diesel Workmaster

By L Timothy Knutson. N-News.

It’s always nice to have a project waiting in the wings. In the summer of 2008, I had started to work on my 740 (see Volume 26, Number 4, Autumn 2011), but I was already thinking about my next restoration project. It was during one of my web searches that I saw an ad for a 1962 Ford 601 Diesel. The tractor was at a dealership in a small town SE of Austin, TX – not far from where my son and his wife live. The asking price was a bit higher that I was prepared to pay, but on a whim, I made the call. Continue reading

Transmission Woes

by Charlie Yancey

When my wife took me on my first trip to her home state of Maine, I was hooked. Growing up in the Southwest leads to a bit of green envy and water lust. Maine is just the state to satisfy both of those wants. In time, I was able to convince her to move back to her home state. We bought an old farm, and what’s a farm without a tractor? Continue reading